Tuesday, September 4, 2012

Saturday, June 30, 2012
Peppers
Look! Food! On a food blog! ..... Well, sort of. Really it's more fun with Paper by 53.

In progress:

Wednesday, June 20, 2012
Paper by 53 App Is Amazing
I have discovered a new app called Paper by 53, and I love it very much. The app itself is free, but the only tool you get is a pencil. I paid $7 to get the brush, pens, and a marker, and I have spent enough time playing with it that it's already worth the price.

This is a picture I created today based on this photo in the Atlantic. If you click on the link, you'll see that my talents for drawing a likeness are non-existent, but I feel compelled to link to the original photo. There are lots of little things that are wrong with the picture, but it was really fun to 'paint' it. And the erase feature really improves one's ability. =)
Just for funsies, below is a gif showing my progress as I went along.


This is a picture I created today based on this photo in the Atlantic. If you click on the link, you'll see that my talents for drawing a likeness are non-existent, but I feel compelled to link to the original photo. There are lots of little things that are wrong with the picture, but it was really fun to 'paint' it. And the erase feature really improves one's ability. =)
Just for funsies, below is a gif showing my progress as I went along.

Sunday, May 13, 2012
Mother's Day Crafting
Pepper and I decided to celebrate mother's day by having a craft extravaganza. We brought the craft table up from the basement and laid out our possibilities.


Here's the birdhouse, painted by me, color supervision by Pepper. I hope to post pictures of a little birdie using it.

Painted B for college! Her roommates will undoubtedly be jealous.

First, I put the broken slate pieces back together and then painted a setting sun-type deal.

Then I painted a white tree, separated the pieces back out and hot-glued them on a picture frame. The end! (For now.)
Mother's Day Gift

My kid made me this for Mother's Day. She was all sneaky about it & pretty much everyone else knew but me. Very very sneaky. =)
Completed wine bottle art
I finally finished the wine bottle art I started 5 months ago. Actually, it's beer bottle art, but whatever. Here it is:

I meant for the elephant to be bigger, so that the trunk would go up the neck of the bottle. Ah well.
Sunday, February 12, 2012
Wine Poached Pears
Wine poached pears are really delicious, and I don't even like pears all that much. They are extremely easy to make. You can also save the extra cooked-down sauce, and it's like wine jam. So yummy.


Sunday, January 15, 2012
Craft Time #2
Craft time take 2! Complete with a Maggie!

We played with my wax paints. None of us are particularly gifted at the wax arts, but it was quite fun.

Maggie completed two craft projects. A tree (that ended up with a sky) and a painted representation of their newest cat, Twitch. Twitch is very twitchy.


I didn't take a picture of mine in progress -- this is Shana's base color.

Here is Pepper's in progress.

And the final product (mine is the top one) that is now hanging on Pepper's wall.
The End!
Craft Time
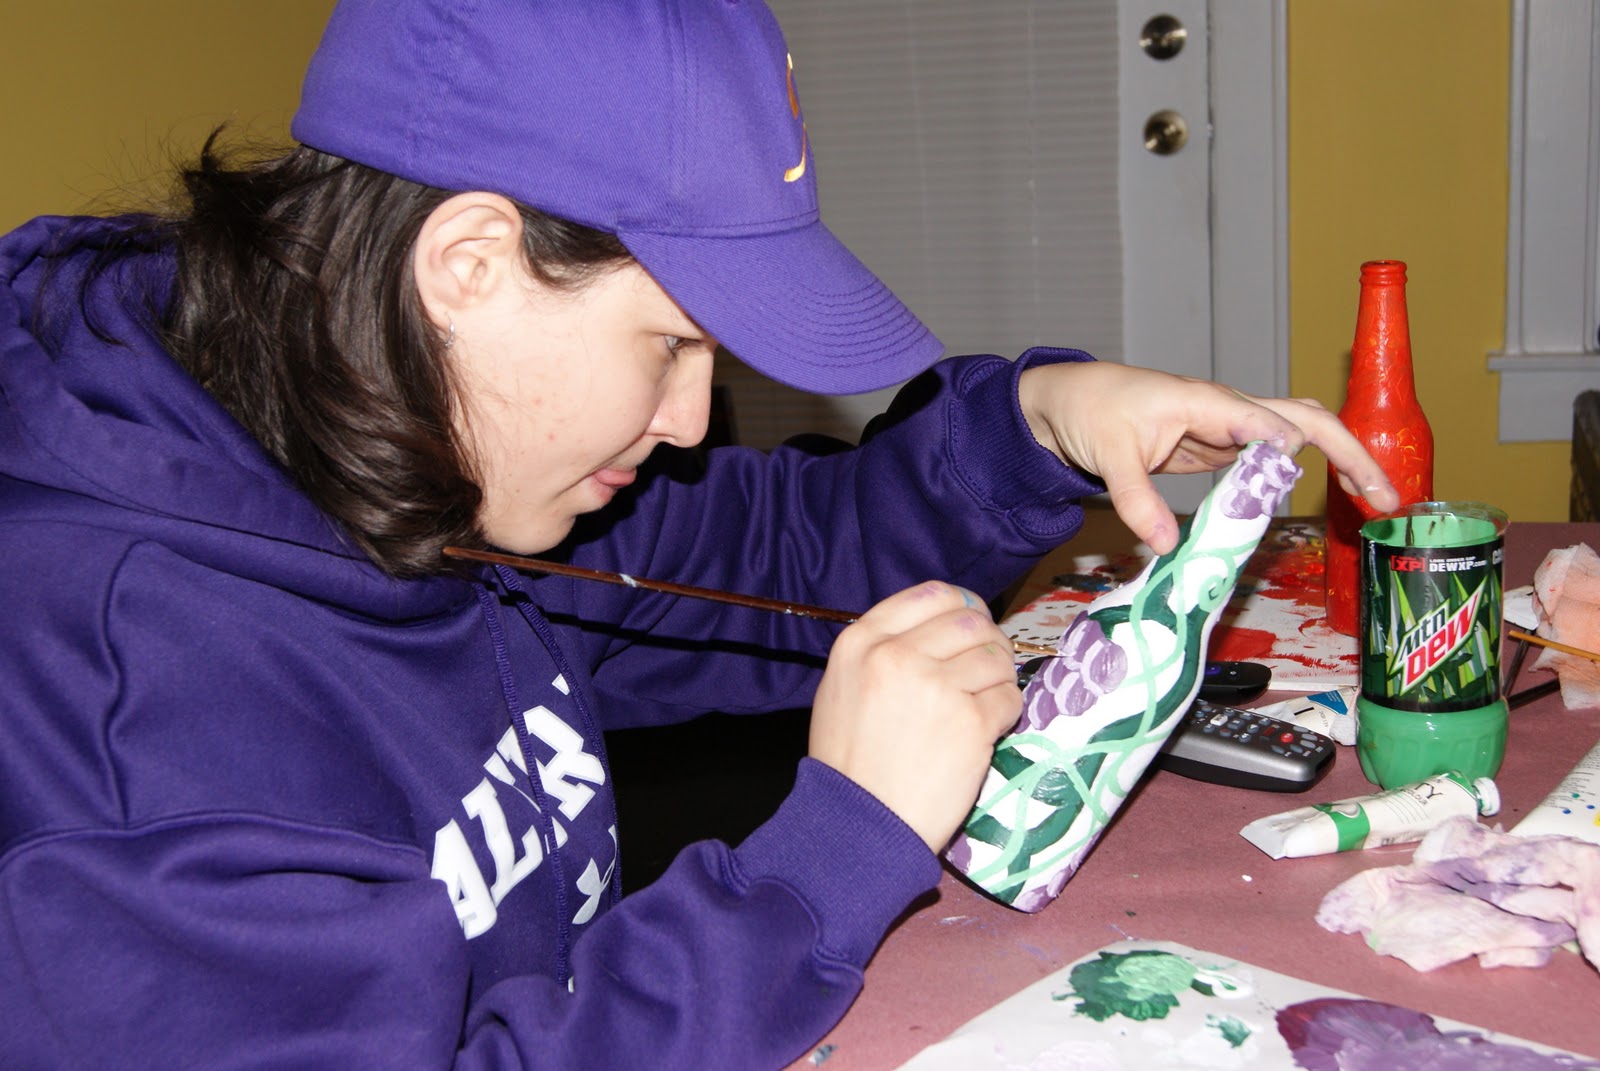
Pepper* and I finally had a craft day with the Nissen Bomb, although Maggie was sadly absent. We decided to make some bottle art, and we each picked a beer bottle.
 Miss Niss fretted initially over what to paint, but after some googling, she stuck her tongue out and got to work.
 Pepper painted blackbirds and clouds. I don't have a final picture, but there was also a moon. I asked her what she wanted to say about doing bottle art on the blog, and she reports, "It was amazing." There you go.
 This is my work in progress. The wine bottle below is what I worked on by myself earlier. I haven't actually finished the beer bottle one. I am thinking about trying to paint an elephant rearing up, with its trunk in the neck of the bottle. I have serious doubts about my ability to accomplish such a thing, though. The tree thing was a random block of scrap wood that I painted with the extra bottle paint & then drew a tree on it.
 This was my initial wine bottle fun times. I got the idea for wine bottle art from some stuff we saw at Lowe Mill over Christmas. Those had bright, oddly shaped buildings, but I didn't think that I could pull that off. So I roamed around Etsy looking at pictures/paintings of dancers.

*Although Pepper is 18, she's still in the foster system, and I'm not supposed to post pictures of her or put her name on the interwebs. I sometimes call her chili pepper (children -> chilluns -> chilis -> chili pepper), so that's the name we're going with.


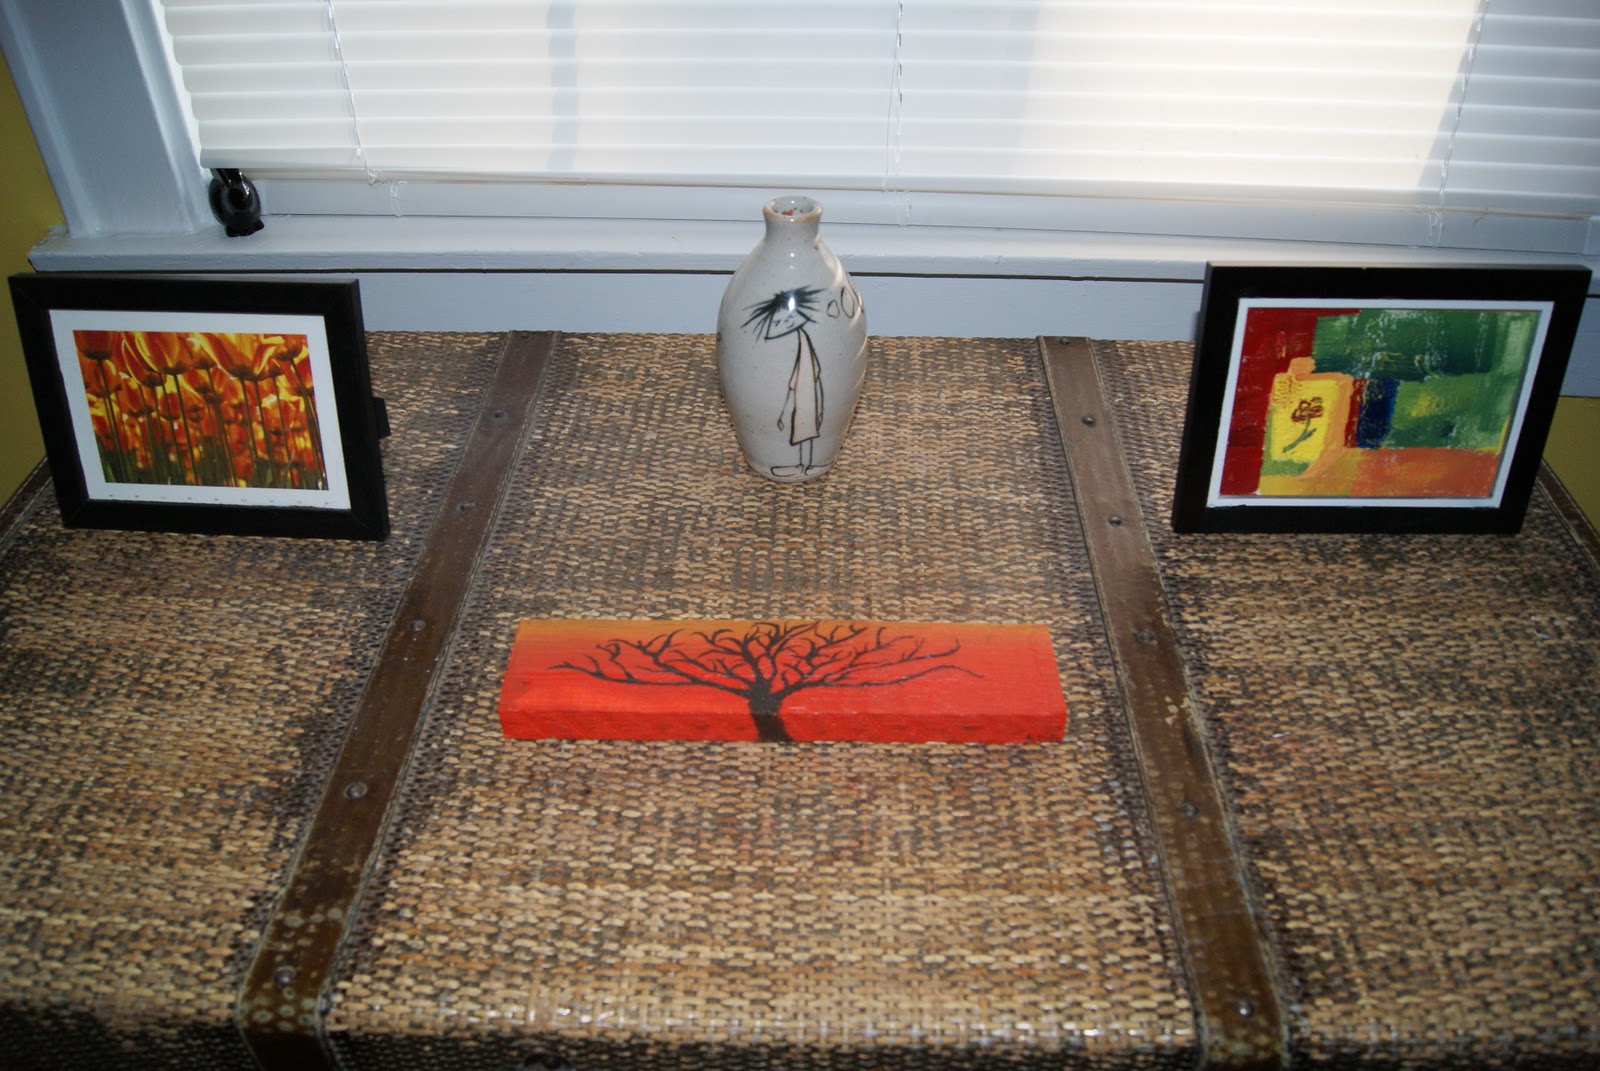
And this is where I put my scrap tree.
Here are the instructions we used. I recommend this project!
*Although Pepper is 18, she's still in the foster system, and I'm not supposed to post pictures of her or put her name on the interwebs. I sometimes call her chili pepper (children -> chilluns -> chilis -> chili pepper), so that's the name we're going with.
Sunday, August 14, 2011
Rambutan Martini Recipe
I went to Jungle Jim's today, and got some more rambutans. Last time I only got the one, but I decided to really go crazy and get a whole sack.

I also found a recipe for a Rambutan martini, and it turns out that it's pretty delicious.

It calls for ginger flavored vodka. Did you know that existed? It does.

Monday, August 8, 2011
Indiana State Fair
We went to the Indiana State Fair this weekend, which I think is the first time I've been to a state fair. A staple of fairs, of course, is fried food, and I wanted to try the latest craze: Fried Kool-Aid.

 It really tastes exactly like fried kool-aid. That's not necessarily a good thing. They gave us six of them, but one was really enough to check that experience off of my list.
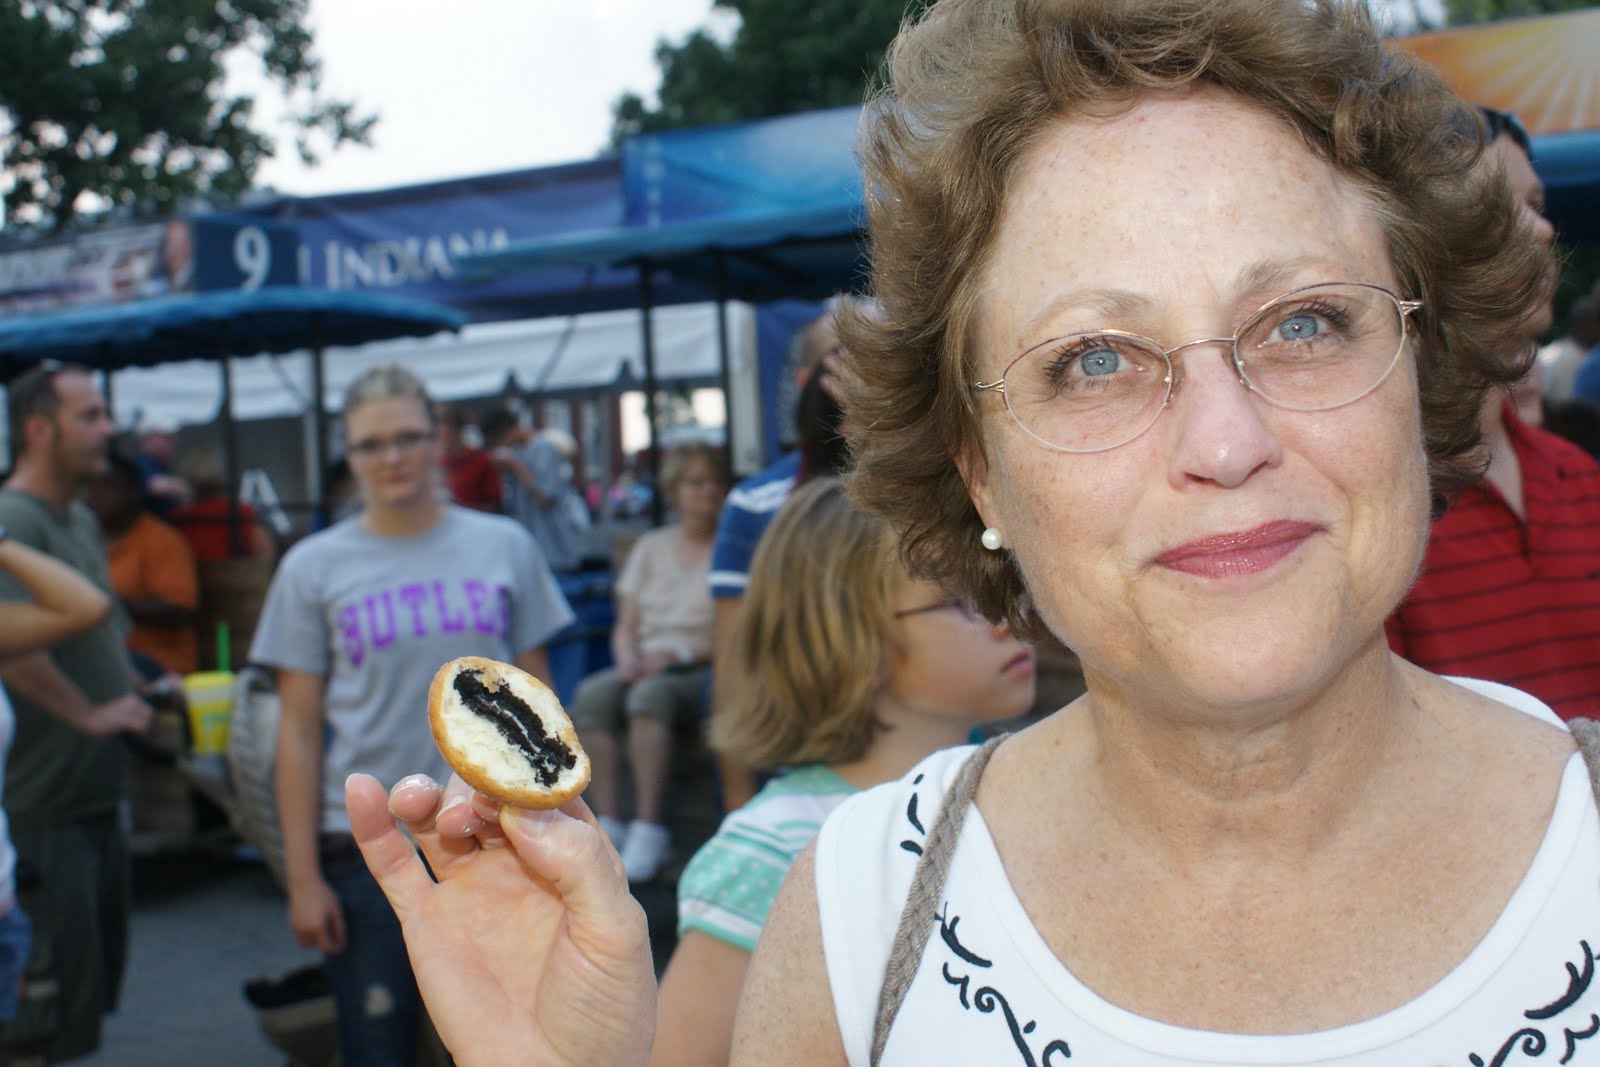
At this same place, they had also sorts of fried stuff that is bad for you even when it isn't fried. I figured I should try at least one other thing, so I also got fried oreos.

 Fried oreos do not taste like fried oreos. It tasted like fried mush. I think if the dough had been a dough that gets crunchy when it is fried (like a hush puppy) rather than soft (like a doughnut), then it might have been better. I also only needed one of those. Check!


At this same place, they had also sorts of fried stuff that is bad for you even when it isn't fried. I figured I should try at least one other thing, so I also got fried oreos.

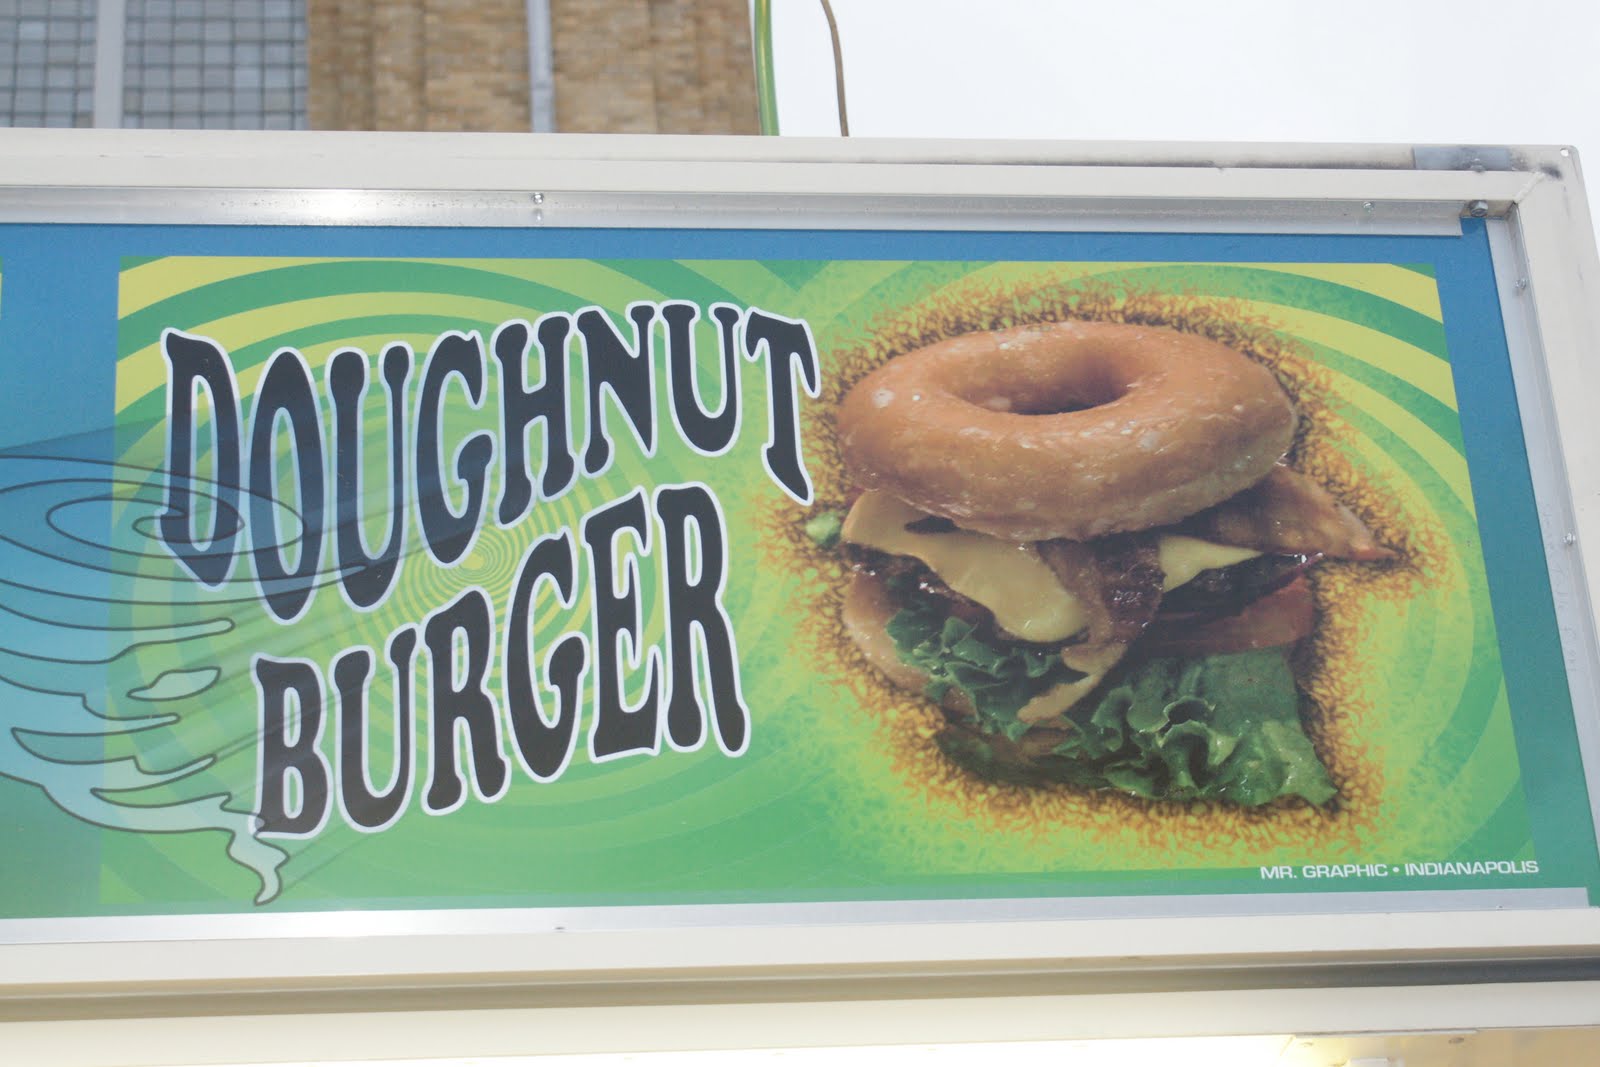
Here is something that I do not need to try. Yuck.
Thursday, August 4, 2011
Beef (Turkey) Empanadas & Steffie Salsa
I made what were supposed to be Beef Empanadas, but I made them with turkey. The recipe is from Bon Appétit. The one with that insufferable creature named Gwyneth Paltrow on the front. (If you are confused about her insufferable qualities and don't mind bad language, may I recommend some reading materials.)

Empanadas Ingredients
1 Tbs olive oil
1/2 lb. ground beef (turkey was tasty)
3 large garlic cloves, chopped
1 Tbs tomato paste
1. tsp ground cumin
1/4 tsp cayenne pepper
1/3 cup chopped fresh cilantro
salt & pepper
1.5 packages frozen puff pastry (3 sheets), thawed
3 large egg yolks, beaten (for glaze)

Dipping Sauce Ingredients & Directions
1 15-oz. can black beans, drained, rinsed
1 cup sour cream
2 Roma tomatoes, seeded, chopped, divided
2 large scallions, chopped, divided
salt & pepper
While the empanada filling is cooling (see below), purée beans and sour cream in a blender until smooth. Transfer to a medium bowl. Stir in half of tomatoes and scallions. Season to taste with salt and pepper. Sprinkle remaining tomatoes and scallions over.

Empanadas Directions
Heat oil in a medium skillet over medium-high heat. Add beef (turkey) and garlic; cook, stirring often and breaking into small pieces with a wooden spoon, until beef is cooked, about 3 minutes.

Add tomato paste, cumin, and cayenne. Reduce heat to medium; cook, stirring often, to let flavors meld (I personally prefer when they marry), about 4 minutes. (Look how much better it looks with colorful spice on it.) Add cilantro; season to taste with salt and pepper. Let filling cool to room temperature.
Preheat oven to 375 degrees. Line 2 baking sheets with parchment paper. Cut each pastry sheet into four 4.5" squares for a total of 12 squares. Lightly brush edges of squares with glaze. Spoon filling into center of each, dividing equally. Fold edges over, forming triangles, and press to seal. Crimp edges with tines of fork. Divide triangles between prepared sheets. Brush tops with glaze.
Bake until tops are puffed and golden brown, about 20 minutes.
 Voilá! Steffie's Salsa in on the far left, and is in the Gracewood Cookbook, but also listed below. All in all, I thought it was tasty and not hard to make.

Empanadas Ingredients
1 Tbs olive oil
1/2 lb. ground beef (turkey was tasty)
3 large garlic cloves, chopped
1 Tbs tomato paste
1. tsp ground cumin
1/4 tsp cayenne pepper
1/3 cup chopped fresh cilantro
salt & pepper
1.5 packages frozen puff pastry (3 sheets), thawed
3 large egg yolks, beaten (for glaze)

Dipping Sauce Ingredients & Directions
1 15-oz. can black beans, drained, rinsed
1 cup sour cream
2 Roma tomatoes, seeded, chopped, divided
2 large scallions, chopped, divided
salt & pepper
While the empanada filling is cooling (see below), purée beans and sour cream in a blender until smooth. Transfer to a medium bowl. Stir in half of tomatoes and scallions. Season to taste with salt and pepper. Sprinkle remaining tomatoes and scallions over.

Empanadas Directions
Heat oil in a medium skillet over medium-high heat. Add beef (turkey) and garlic; cook, stirring often and breaking into small pieces with a wooden spoon, until beef is cooked, about 3 minutes.

Add tomato paste, cumin, and cayenne. Reduce heat to medium; cook, stirring often, to let flavors meld (I personally prefer when they marry), about 4 minutes. (Look how much better it looks with colorful spice on it.) Add cilantro; season to taste with salt and pepper. Let filling cool to room temperature.
Preheat oven to 375 degrees. Line 2 baking sheets with parchment paper. Cut each pastry sheet into four 4.5" squares for a total of 12 squares. Lightly brush edges of squares with glaze. Spoon filling into center of each, dividing equally. Fold edges over, forming triangles, and press to seal. Crimp edges with tines of fork. Divide triangles between prepared sheets. Brush tops with glaze.
Bake until tops are puffed and golden brown, about 20 minutes.

Ingredients:
•2 medium tomatoes chopped
•1 red bell pepper chopped
•1/4 cup diced red onions
•1 Avocado sliced (optional)
•1 tsp minced jalapeño (optional)
•1/3 cup cilantro chopped
•1 can black beans rinsed
•1 can corn rinsed
•1/4 cup lime juice (about 2 limes)
•1 tsp salt
Cooking Instructions:
Mix ingredients together :)
Monday, July 18, 2011
Art on the Walls
I haven't done any more painting on my living room, but I did finally put some art on the walls.
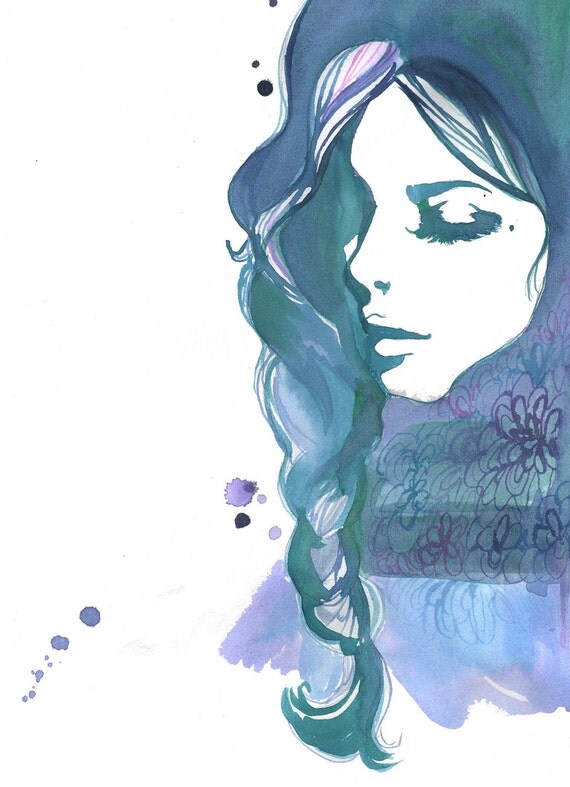
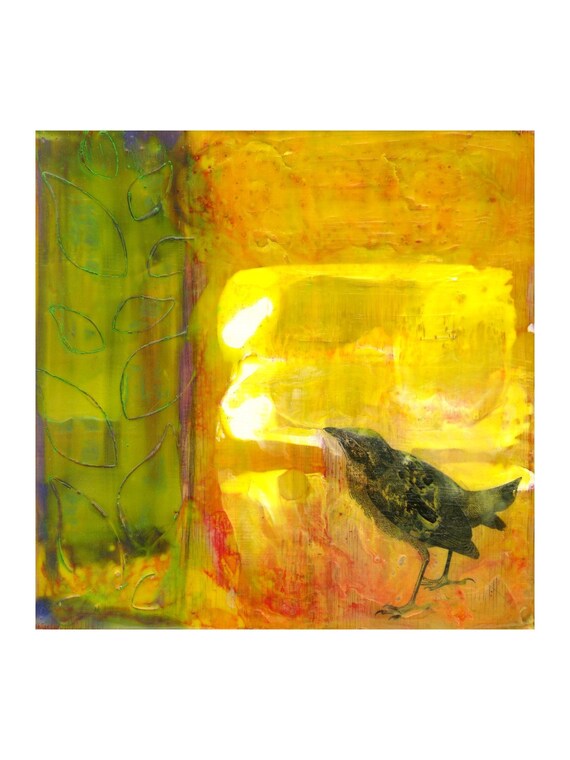
 Above the couch, I hung two prints that I bought from artists on Etsy. I'd like to own originals at some point, but prints are so much more affordable, and I think they still look nice.

 The print on the right was purchased from Jessica Illustration, which has a lot of prints that I liked. The actual print that I received was much darker than this picture, which you can kind of tell above, but I still liked it.
 You really can't see any of the art in this picture, but I couldn't do much better than this. The picture on the right is the chalk drawing of the woman that I did. The one in the middle is just something I bought at Meijer, but I can't find a picture of it online.
 This is the print that is on the left. The original was encaustic, and the print was purchased from Sue Simpson.

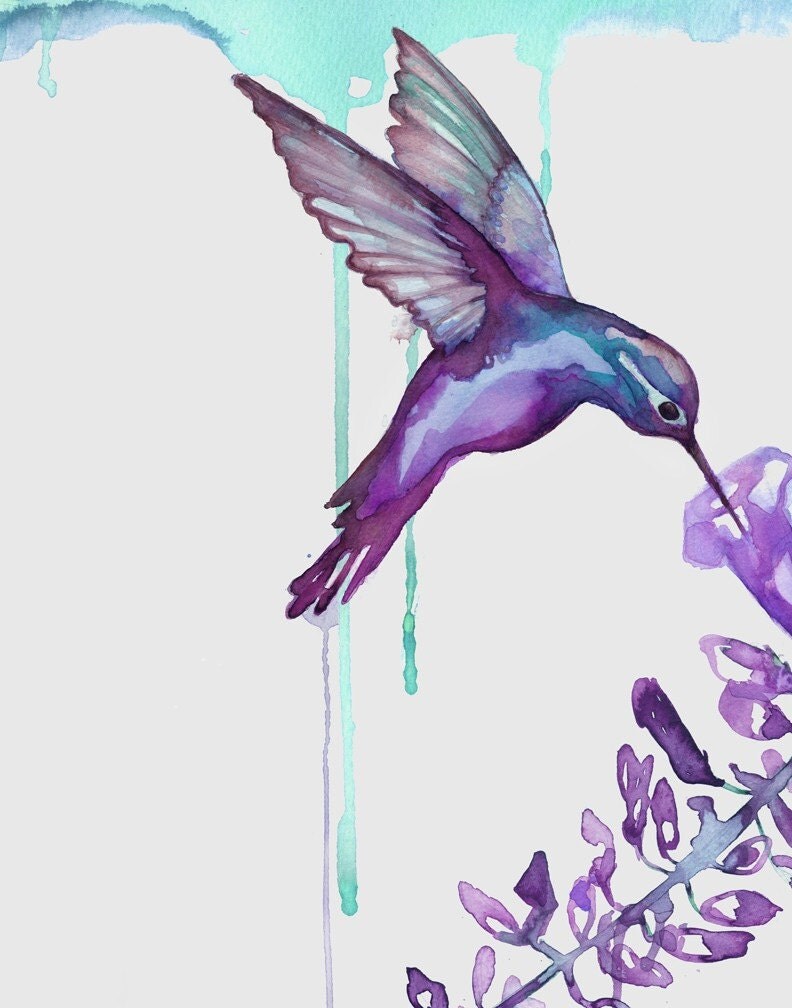
The print on the left was purchased from Beautiful Messy By Emma.

More fun with art supplies
I decided to play with my art supplies again this weekend. I also organized all my art supplies, which included dumping out all of my PrismaColor pencils and organizing them by product number. I'm pretty sure that was a valuable use of my time.

The first picture is encaustics (painting with wax) again, but I didn't do it this weekend. I made my friend Sarah paint with me when I went to visit her. I didn't take a picture of hers, otherwise I would post it here, with or without permission.
 This one I actually kind of like, besides the fact that it was fun. I mean, you shouldn't look to closely or you might notice her oven mitt hands or the fact that her body doesn't exactly follow the law of physics. But if you squint, I think it's OK. =) I actually started it in high school, but only got to the face and part of the arm. It's done with really nice chalk pastels that just feel nice to use -- they are so smooth.
 And this is just done with acrylic paint. The paints weren't too terrible, although they had separated some. But I used gesso to prime the canvas and oooooweeee, that was some chemically, stinky stuff. It probably always smelled a little of chemicals, but leave it there for 10 years, and it really has time to fester. I almost fell off my chair.

The first picture is encaustics (painting with wax) again, but I didn't do it this weekend. I made my friend Sarah paint with me when I went to visit her. I didn't take a picture of hers, otherwise I would post it here, with or without permission.


Saturday, July 16, 2011
Dining Room/Living Room (In Progress)
I am continuing to work on my living room/dining room. I know this yellow won't be everyone's cup of tea, but I enjoy it. I really need to get some art for the walls though, that is for sure.


Tuesday, July 12, 2011
Chicken Tacos with Mango-Avocado Salsa

This recipe from Cooking Light was AMAZING. Brandon and I loved it.
Instead of typing the recipe out, I just hyper-linked the recipe to the picture of the tacos.
The only change I made was to use flour tortillas instead of corn. (I also only used 2 chicken breast because it was just the two of us).
I also made guacamole with my leftover ingredients.

I used the same recipe I posted on the blog in Feb 2010 (hyperlinked to the picture too). I didn't use the exact proportions because I just used what I had leftover. I think what I like best in this recipe is the addition of tomatoes and cilantro.
Because pictures make food more fun to read about, I posted a picture of me making the tacos as well. I look great... probably because these tacos were from the cooking light website. Forgive my weird expression... I wasn't expecting Brandon to take the picture right then. :)

Subscribe to:
Posts (Atom)