Showing posts with label Craft. Show all posts

Sunday, May 13, 2012

Mother's Day Crafting


Pepper and I decided to celebrate mother's day by having a craft extravaganza. We brought the craft table up from the basement and laid out our possibilities.

Starting from the lower left corner and going clockwise: The B is for Pepper (spoiler alert-her name's not Pepper). She's going decorate it & take it to college (see below); Wine bottle for wine bottle art (did not get used); Little shelf/organizers we picked up at a yard sale to paint (in progress; pictures to come later); blown out eggs we never dyed from Easter (not used); wool roving (not used); old photos (not used); popsicle sticks (Pepper LOVES popsicle crafting - her house is in progress); broken slate (see below); bird house (see below); wood scrap that I was going to paint with wax paints (not used).


Here's the birdhouse, painted by me, color supervision by Pepper. I hope to post pictures of a little birdie using it.


Painted B for college! Her roommates will undoubtedly be jealous.


First, I put the broken slate pieces back together and then painted a setting sun-type deal.


Then I painted a white tree, separated the pieces back out and hot-glued them on a picture frame.  The end! (For now.)


Mother's Day Gift


My kid made me this for Mother's Day. She was all sneaky about it & pretty much everyone else knew but me. Very very sneaky. =)

Completed wine bottle art

I finally finished the wine bottle art I started 5 months ago. Actually, it's beer bottle art, but whatever. Here it is:


I meant for the elephant to be bigger, so that the trunk would go up the neck of the bottle. Ah well.

Sunday, January 15, 2012

Craft Time #2

Craft time take 2! Complete with a Maggie!


We played with my wax paints. None of us are particularly gifted at the wax arts, but it was quite fun.


Maggie completed two craft projects. A tree (that ended up with a sky) and a painted representation of their newest cat, Twitch.  Twitch is very twitchy.


I didn't take a picture of mine in progress -- this is Shana's base color.


Here is Pepper's in progress.

And the final product (mine is the top one) that is now hanging on Pepper's wall.

The End!

Craft Time

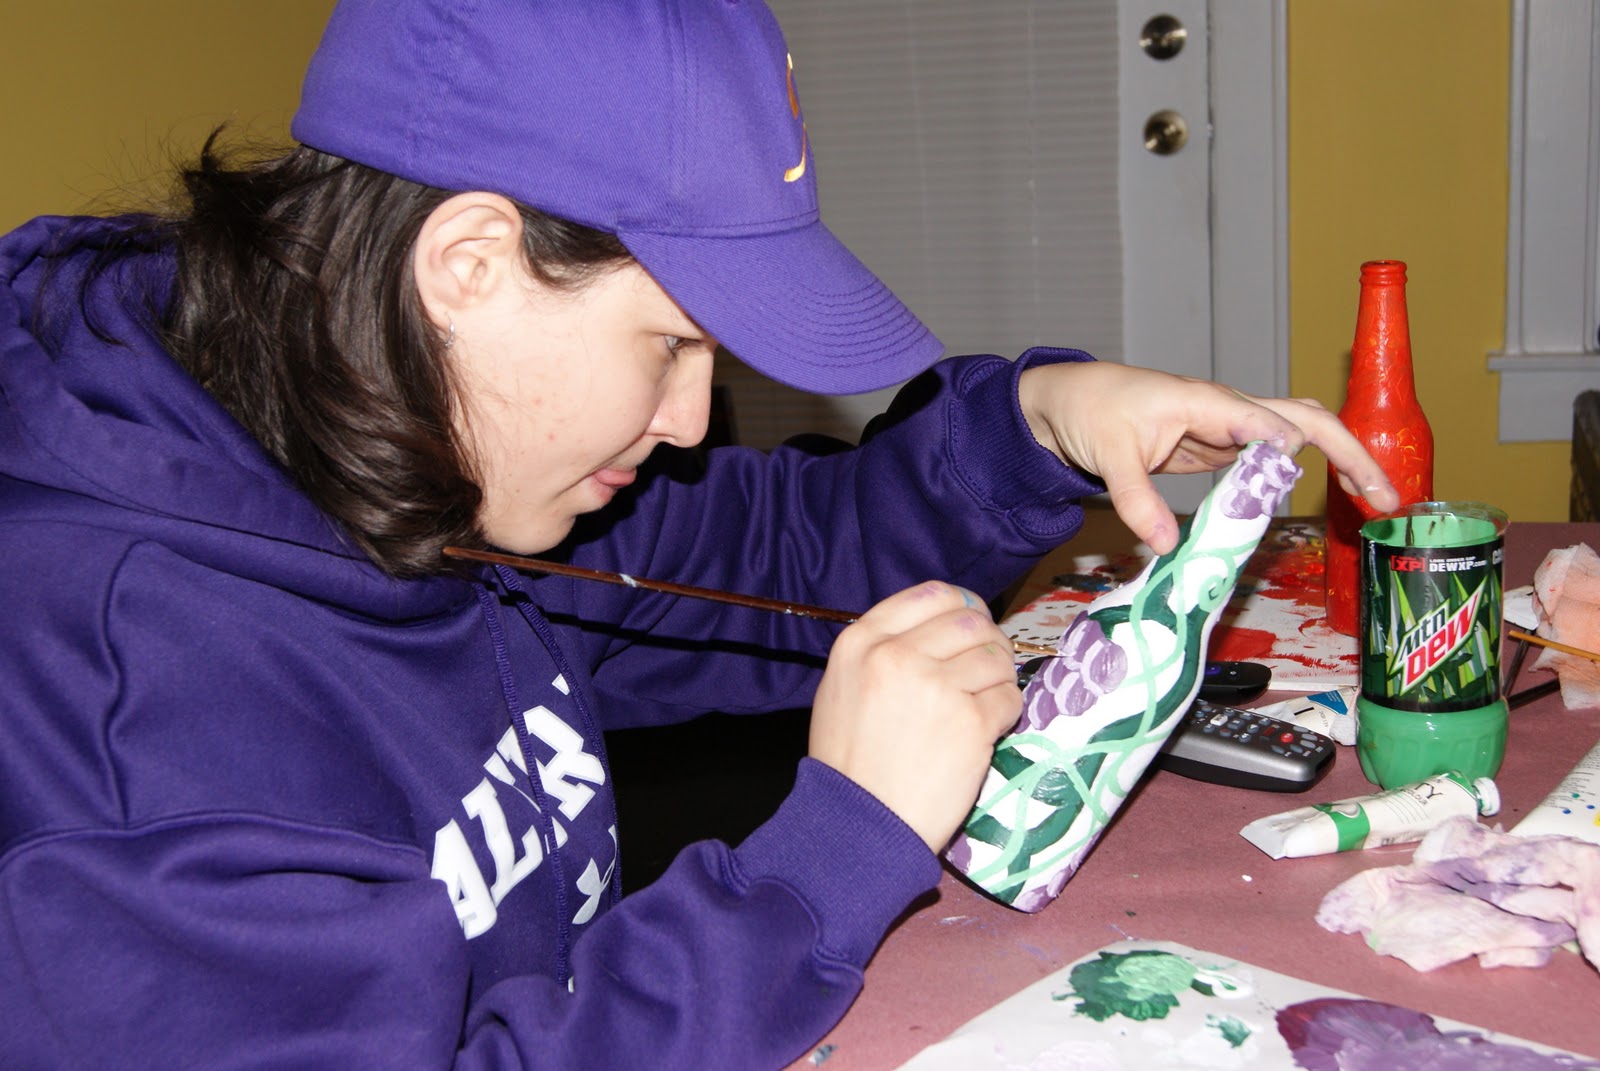
Pepper* and I finally had a craft day with the Nissen Bomb, although Maggie was sadly absent. We decided to make some bottle art, and we each picked a beer bottle.

Miss Niss fretted initially over what to paint, but after some googling, she stuck her tongue out and got to work.

Pepper painted blackbirds and clouds.  I don't have a final picture, but there was also a moon.  I asked her what she wanted to say about doing bottle art on the blog, and she reports, "It was amazing."  There you go.


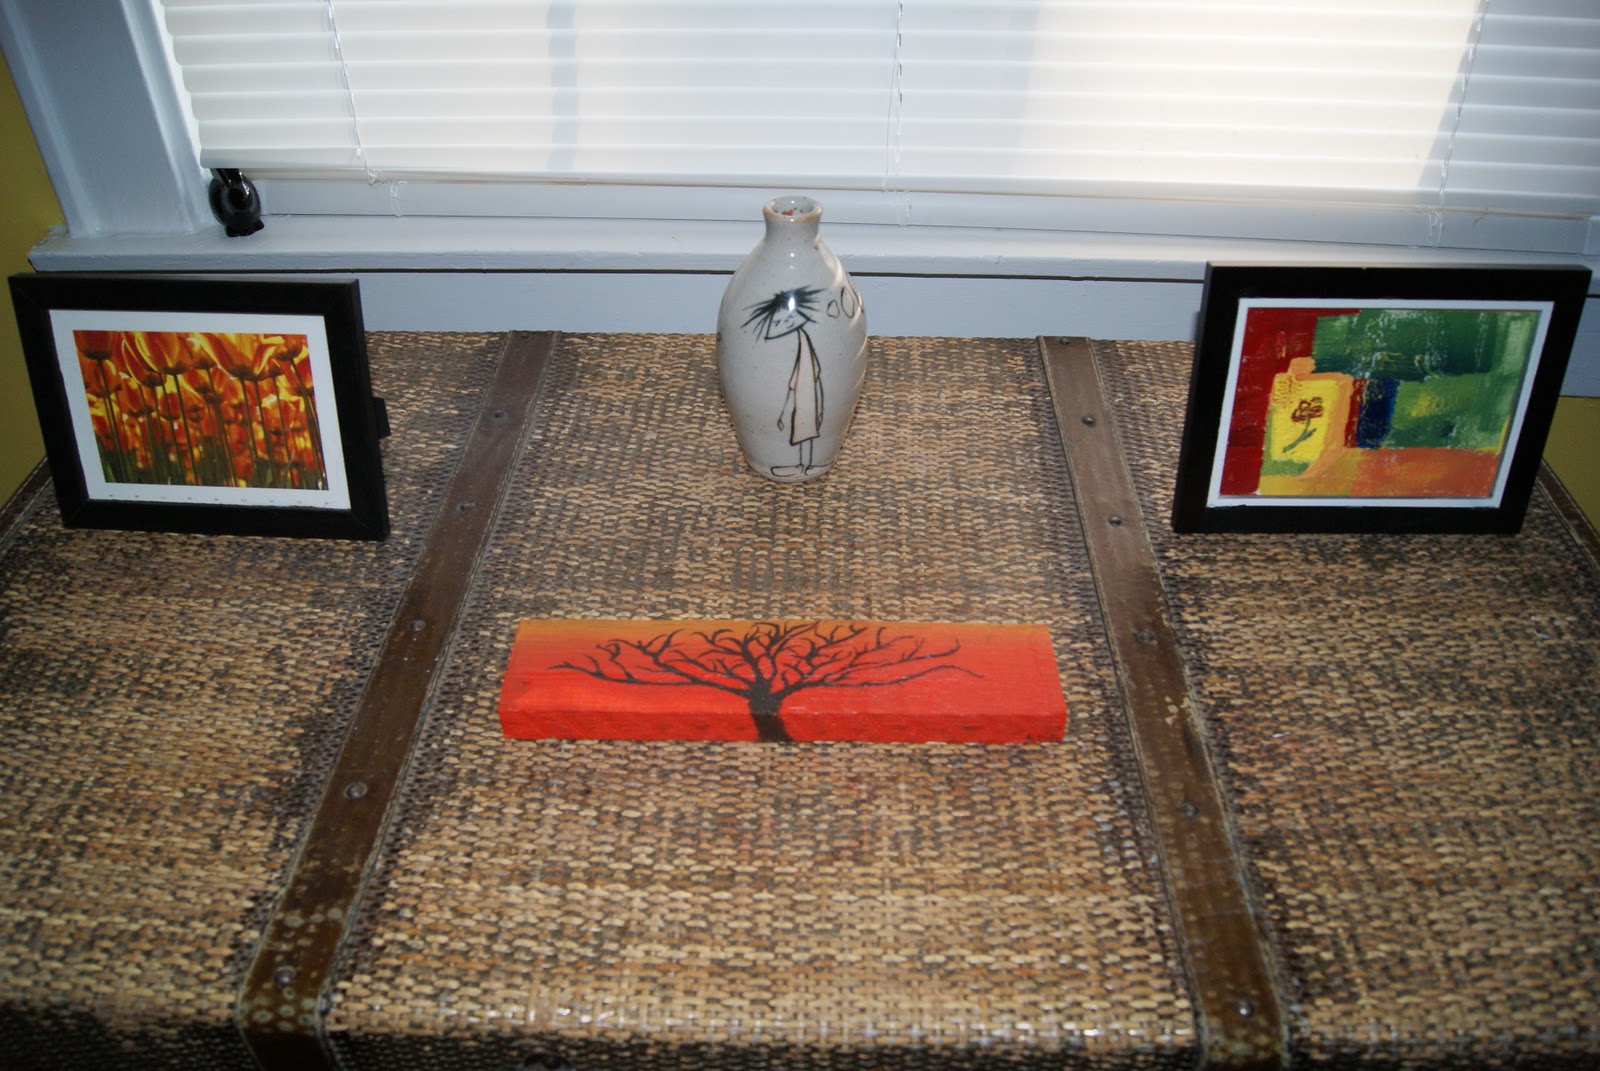
This is my work in progress.  The wine bottle below is what I worked on by myself earlier.  I haven't actually finished the beer bottle one.  I am thinking about trying to paint an elephant rearing up, with its trunk in the neck of the bottle.  I have serious doubts about my ability to accomplish such a thing, though.  The tree thing was a random block of scrap wood that I painted with the extra bottle paint & then drew a tree on it.


This was my initial wine bottle fun times.  I got the idea for wine bottle art from some stuff we saw at Lowe Mill over Christmas.  Those had bright, oddly shaped buildings, but I didn't think that I could pull that off. So I roamed around Etsy looking at pictures/paintings of dancers.


And this is where I put my scrap tree.


Here are the instructions we used.  I recommend this project!


*Although Pepper is 18, she's still in the foster system, and I'm not supposed to post pictures of her or put her name on the interwebs. I sometimes call her chili pepper (children -> chilluns -> chilis -> chili pepper), so that's the name we're going with.

Monday, July 11, 2011

Window Mirror

As discussed previously, I inherited a tendency to pick up "treasures" that other people might refer to as "trash."  Several years ago, a few windows were picked up, by me or my mom or somebody -- I don't remember.  Anyway, I've had them, and I've had various half-formed ideas about what to do with them.


I decided it was finally time to do something, and I discovered this paint spray that creates a mirror-like surface.  (And in case you haven't noticed, I'm really into spray paint right now.)


I forgot to take pictures of my progress, but you spray the paint on the opposite side of the glass that is going to be the "mirror," and once the several coats have dried, it looks like an old mirror.  I sanded the surface and painted it.  I decided not to tape -- I scraped instead.  I find razoring off the paint to be oddly enjoyable. You probably can't tell, but the window mechanism at the top is spray painted silver, like my kitchen hardware.

Saturday, May 21, 2011

Arts & Crafts

I got into an artsy mood today.  First, I played with colored pencils.  But then I had some real fun playing with my new encaustic set! 

In each little tin is colored wax.  The two light colored ones on the right are a cleaning wax and a clear wax.  I used a pancake griddle to melt the wax.  Then you can use the cake griddle as your palette!  Fun, right?!

OK, so my tree looks a little arts & craftsy and/or middle school art homework project, but whatevs!  It was fun, and I went ahead and framed that sucker.  I'll probably find a place in my bedroom for it.


The cool thing about painting with wax is that it is very textural. I included this picture so you could see more how textured it is.

Future visitors -- if you want to play with my encaustics when you visit me, I thoroughly support that!

Saturday, April 23, 2011

Kitchen Chalk Board


I sprung forth from the kind of people who just love to pick trash up on the side of the road and call it a "treasure" -- in general, I have accepted this particular fate. I found this shelf door a long time ago. Or, maybe my mom found it and I stole it from her basement? Who knows. Anyway, I had some vague vision about what it could become. My vision was considerably more awesome than what I actually ended up doing, but that's OK too.


First I sanded the whole thing down. I didn't sand it perfectly, because I wanted the texture to show through. Also, I'm pretty lazy.


Then I painted it with magnetic paint.  As usual, I painted first, then read the directions.  The directions pretty clearly state that the surface needs to be extra special smooth for magnets to work.  Due to my creative (lazy) plan to leave a rough finish, the magnetic quality is pretty weak.   Next I painted it with this stuff, which is paint that turns any surface into a blackboard.


I painted the border a similar green to the original, but you can't really see it in the picture. Now it hangs in my kitchen, welcoming all to my humble home! =)

Friday, January 21, 2011

Lip Balm Candle

I actually did this while I was home over Christmas break, but I'm just now getting around to posting it. I saw this recipe for homemade lip balm on a blog and decided I wanted to try to make it with my mom. A nice mother/daughter project.

The recipe calls for natural grated beeswax, which I suppose looks something like this:


Well, my mother and I, being who we are -- we picked up the first thing that seemed vaguely similar. We got beeswax beads, which look like this:


This apparently matters.


The rest of the recipe we followed correctly. Here I am melting the beeswax and the coconut oil.


Our talents are so profound that it took two of us to complete this step. Several times, the water almost boiled over into the oil in the wax.

So then we added our essential oil -- Eucalyptus, the cheapest essential oil we could find, because, again -- me and my mom. Then we poured it into a small glass jar thing (a repurposed jar -- no need to buy what you already have!)

It was clear before we poured it that this was going to be the worst lip balm ever. It was basically like vigorously rubbing your lips with a candle. Not so effective. So we made a candle instead! Two candles actually, even though I only have a picture of one of them. For one, we just stuck a birthday candle in it. The second one, which is pictured, we put cooking twine in it. The cooking twine one actually burns better. I didn't get lip balm, but I did get a little candle, so that's good enough for me!

The end.


[Edit: Here are both candles burning.]

Friday, December 31, 2010

Snuggie! or Slanket? the Reavaxer?

I am so crafty. Well. Not really. I had my first sewing lesson and my instructor discovered that I needed some serious remediation. I learned words like selvage and baste (which has nothing to do with meat or an oven). And in the end I made a bright orange Snuggie-like thing.

Before we take a quick and fascinating tour through my Snuggie making, we need to come up with a name that is not copyrighted. My mom came up with two possibilities. The Reavaxer is one, but it kind of reminds me of this. The other option -- I don't really even remember it, but I didn't care for it. Sorry, Ma. Anyway, let me know if you come up with a good name for my orange Snuggie.

OK, let us begin.

This is a "Comfy Blanket" pattern. Note how the pictures highlight the awesome pocket.


I think my instructor is pointing out the fact that this is one long-ass pattern.


That larger rectangle is for the foot pocket. Yes, friends, there is a foot pocket.


Threading my mini-sewing machine with bright orange thread.


Pinning the regular pocket.


An unhemmed, sleeveless, pocketless Snuggie.


There's so much fabric! I rolled it up so I could sew in the middle.


Look at that line! My instructor gave me an "A" for that.


And here is my finished Snuggie! I always wanted to be an orange monk. Note, of course, the front pocket. I should mention that the directions said this was an hour-long project. Even with the help of my instructor, who pinned various things & helped me cut, it took me between 5 & 6 hours to make my monk suit.


But look! You can watch TV! (Note again the use of the pocket.)


Or you can read! Whatever you do, you will be so happy in your monk suit.


You can put just about anything in your monk suit. Your head, for example, fits nicely into a sleeve.


But that pocket. Oh that pocket! What things can go in that pocket. A wee dog, perhaps?


Tissues have a safe and handy home inside the pocket.


Mikey the Monkey loves the Snuggie Pocket!


Look, you can even fit two people & a dog in your Snuggie. Of course, at this point, you may be overwhelmed by the paparazzi taking your glamorous monk suit picture. Then you look like this:


Yikes


After all that hard work, student, instructor, and helper dogs are all pooped out. The End.